I thought I’d share the steps it takes me to produce these cat pages using just one panel as an example. Besides, I’m currently going through these steps for chapter 5 so I don’t have any new drawings for the blog.
1: I doodle on Grant’s script that I’ve printed out. Just trying to get general placement of word balloons and characters.
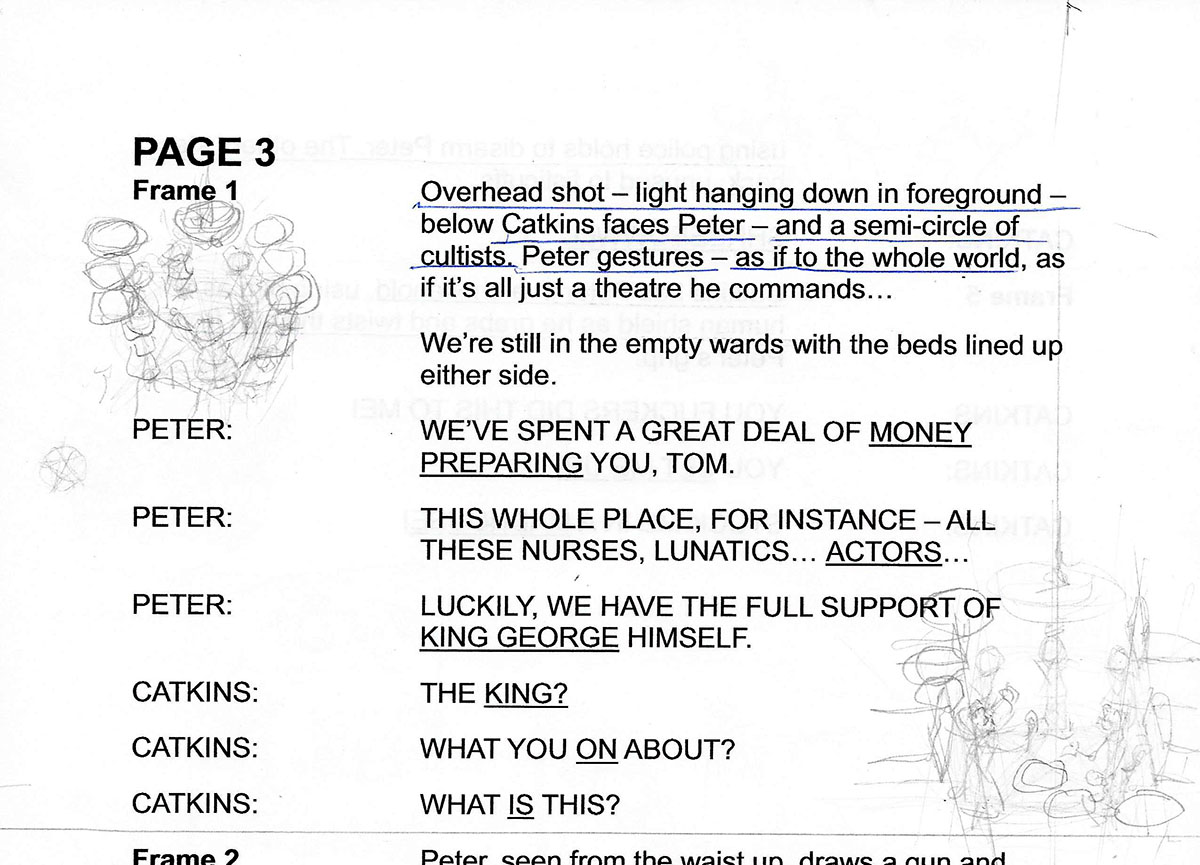
I’ve also doodled on the back of the script to try to envision the layout of the panels for that page.

2: I do all of the lettering in a program called Comic Life and place the balloons, without tails, into their general position in the panel.

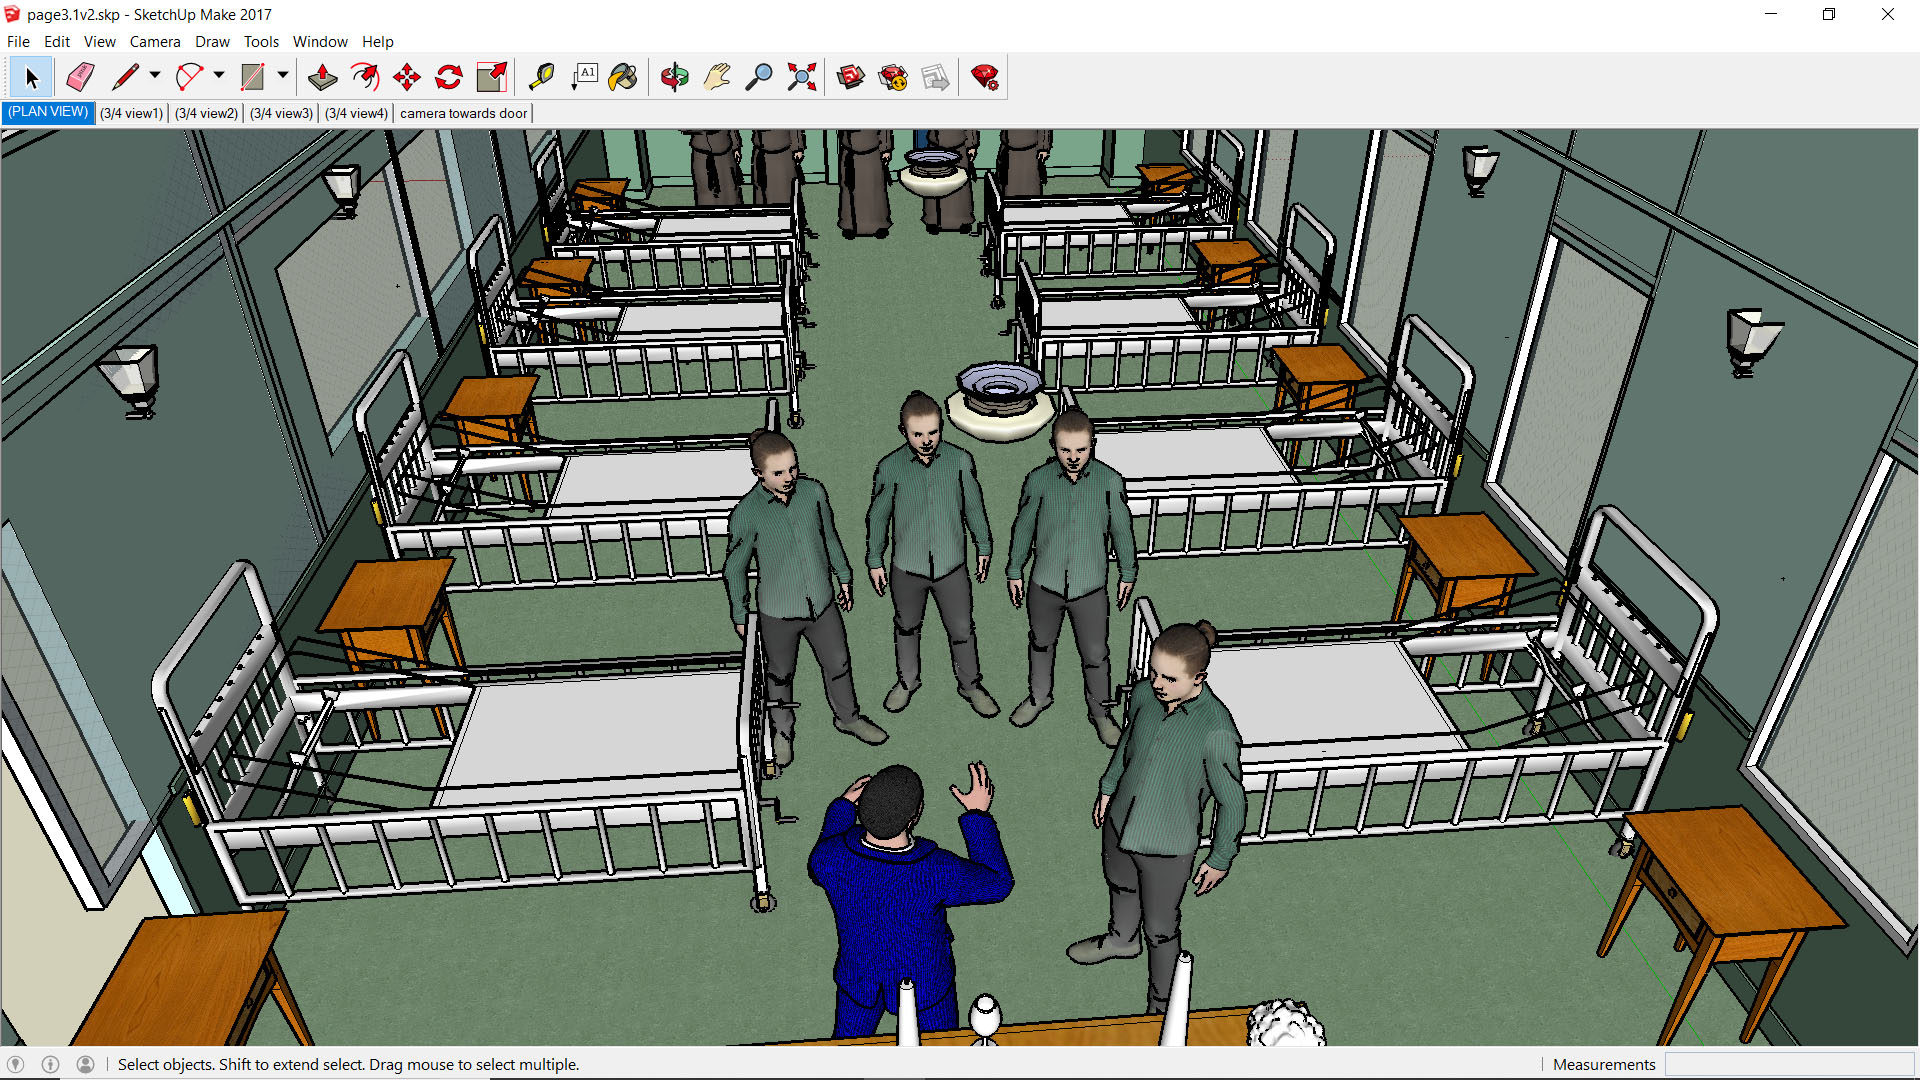
3: In a 3D program called SketchUp, I managed to find a ward room that was very close to what I had used in the last chapter. I added some other elements that I needed including the 3D figures. Most of them are the same figure but that doesn’t matter, they’re just there for size and position.
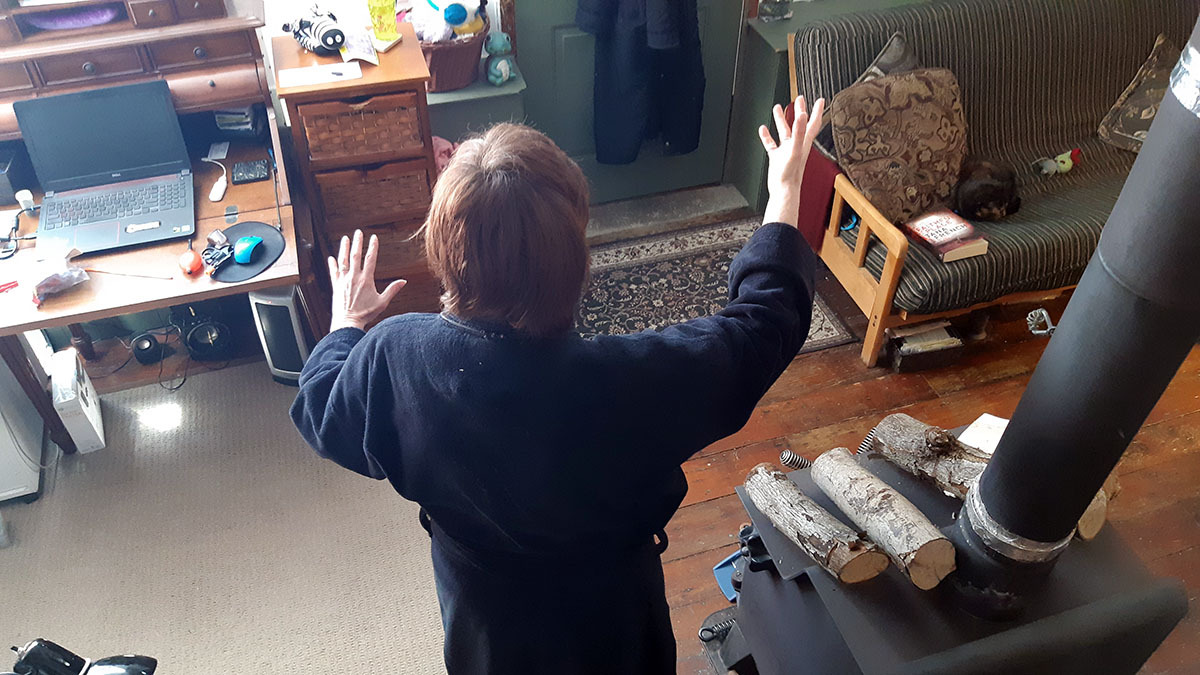
4: I use Shelley as a model (here in my bathrobe) and photograph her from the same angle that I’ve place the characters.
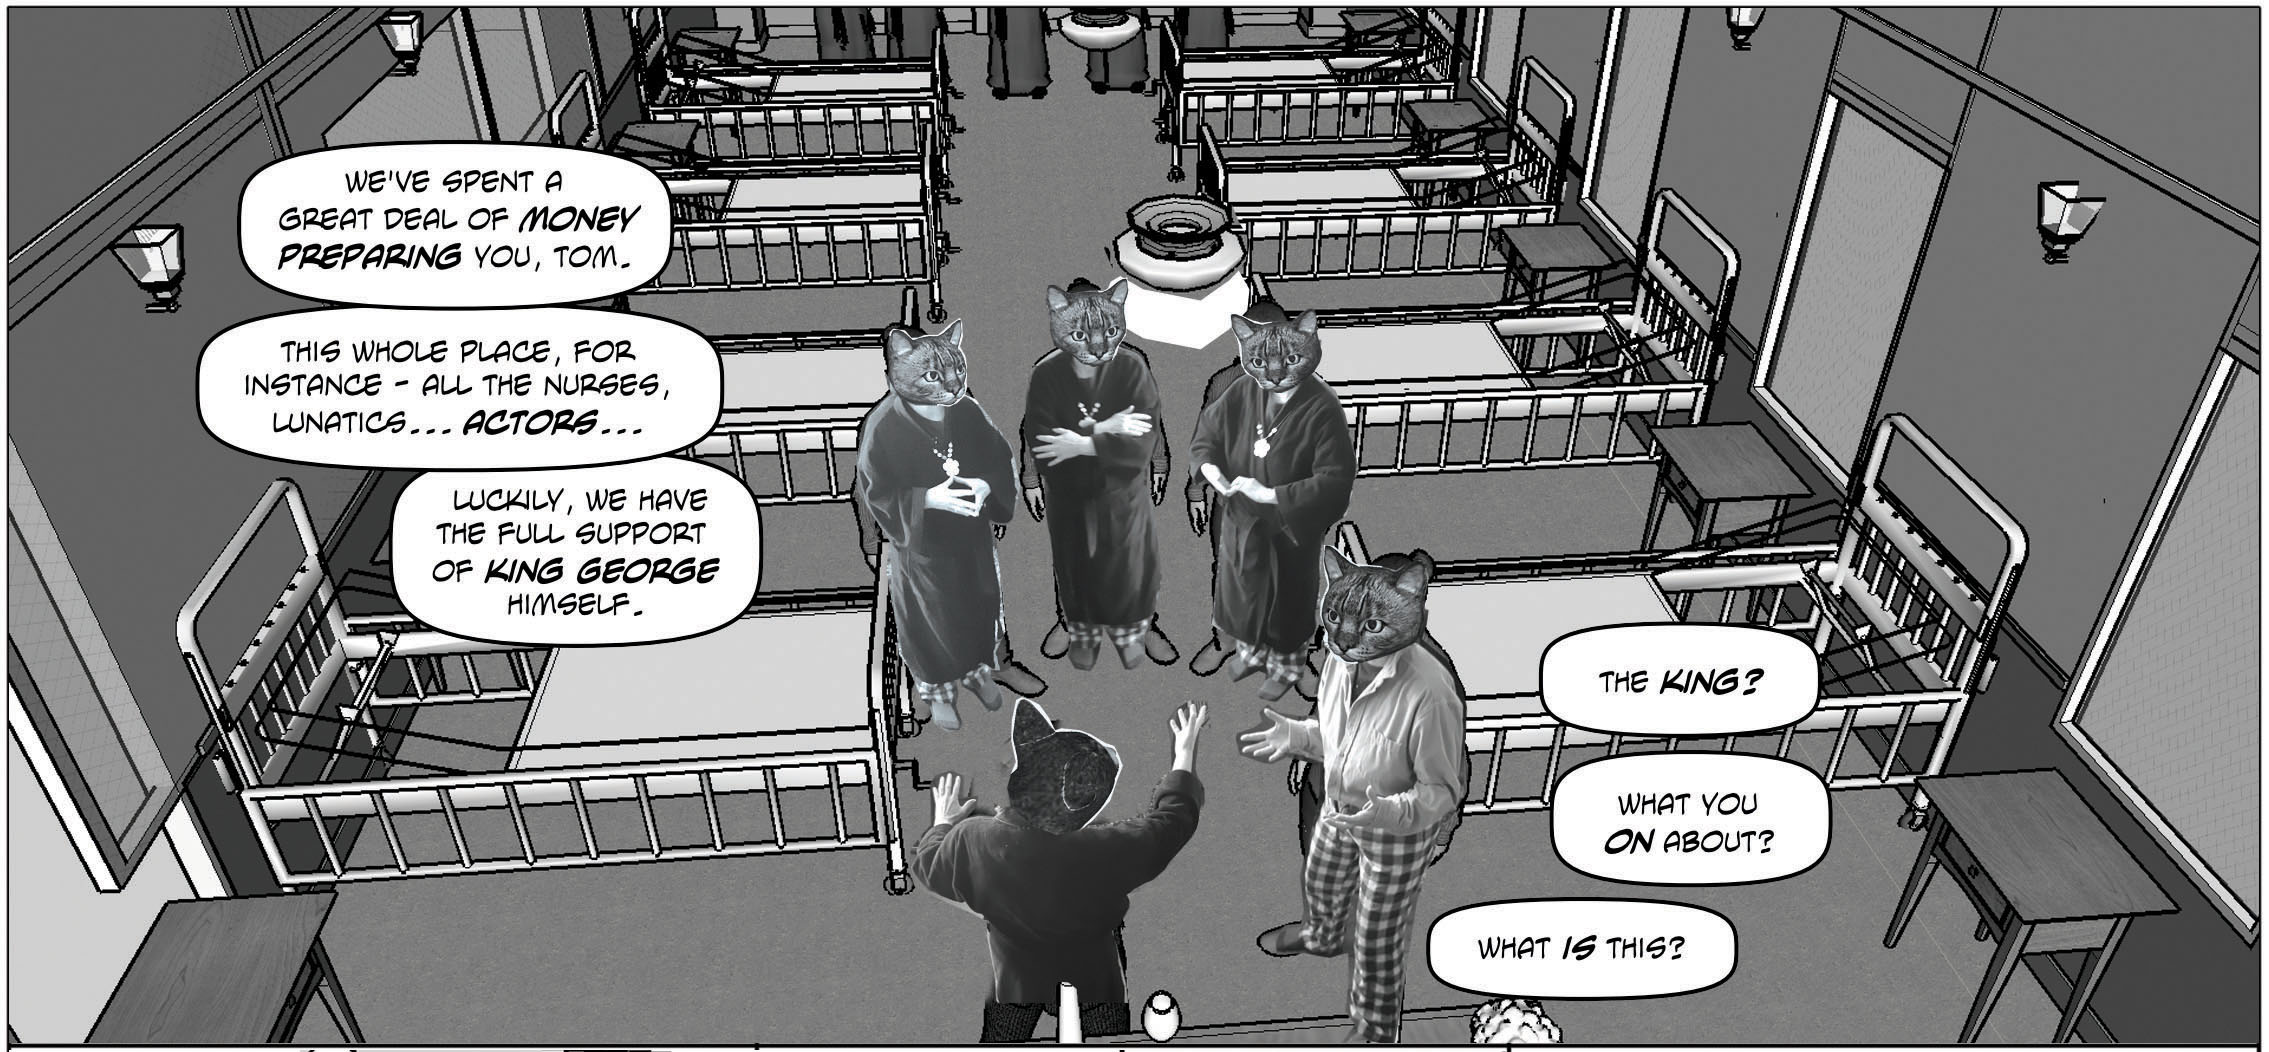
5: I then cut and paste from the photos onto the SketchUp figures and cut and paste cat heads onto everybody from a 3D SketchUp cat. I adjust the word balloons closer to where they’ll finally end up.
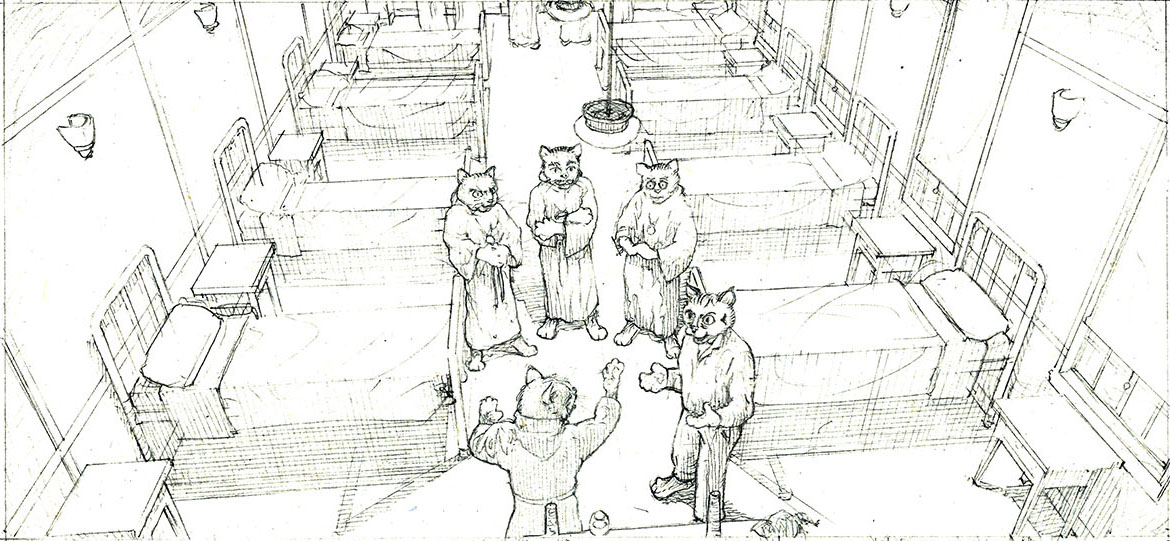
6: I print out the layouts full size and trace them using a light box onto the drawing paper adding lighting and shading.
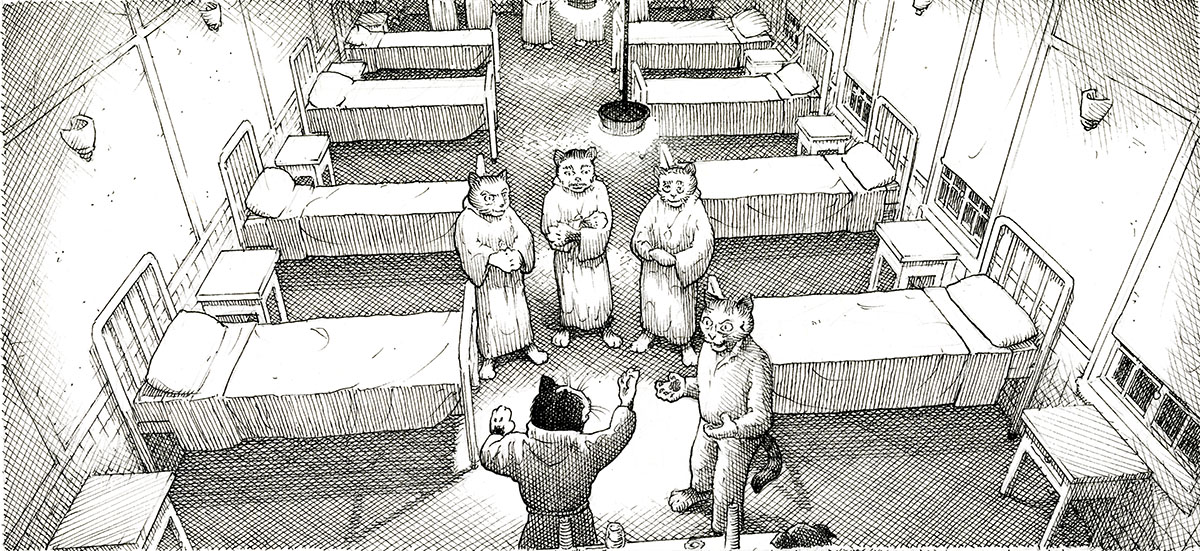
7: Then I ink it.
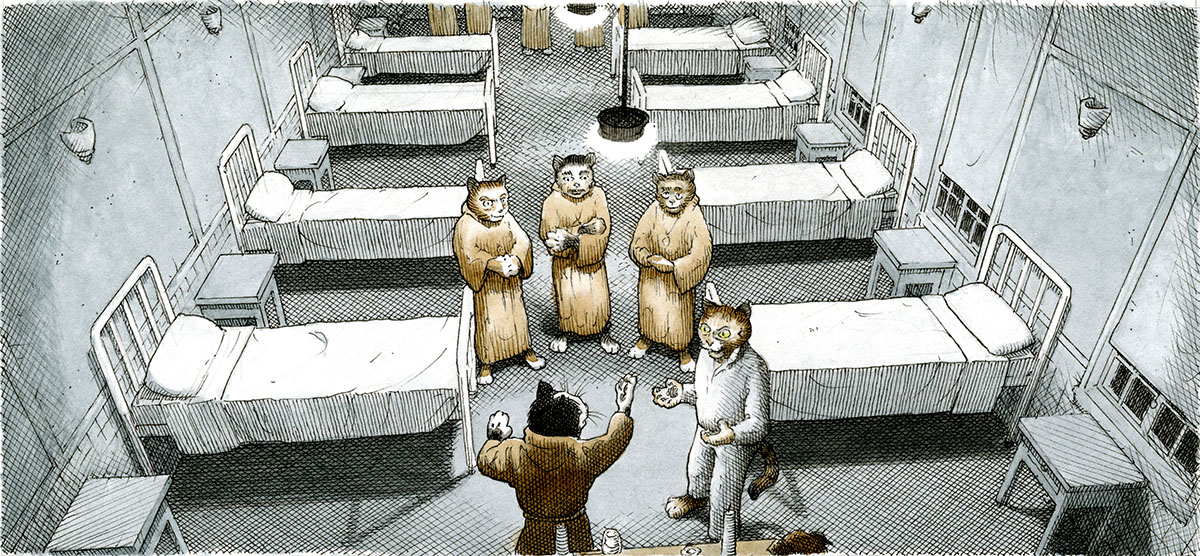
8: Then I colour it.
9: Then I scan it back into the computer (saved in a file folder called ‘cat scans’, naturally). I adjust the contrast, add highlights and any other special effects I may deem necessary, and the final word balloons.

You may think that this is a ridiculously complicated way to do these pages… and you’d be right.
You must be logged in to post a comment.